
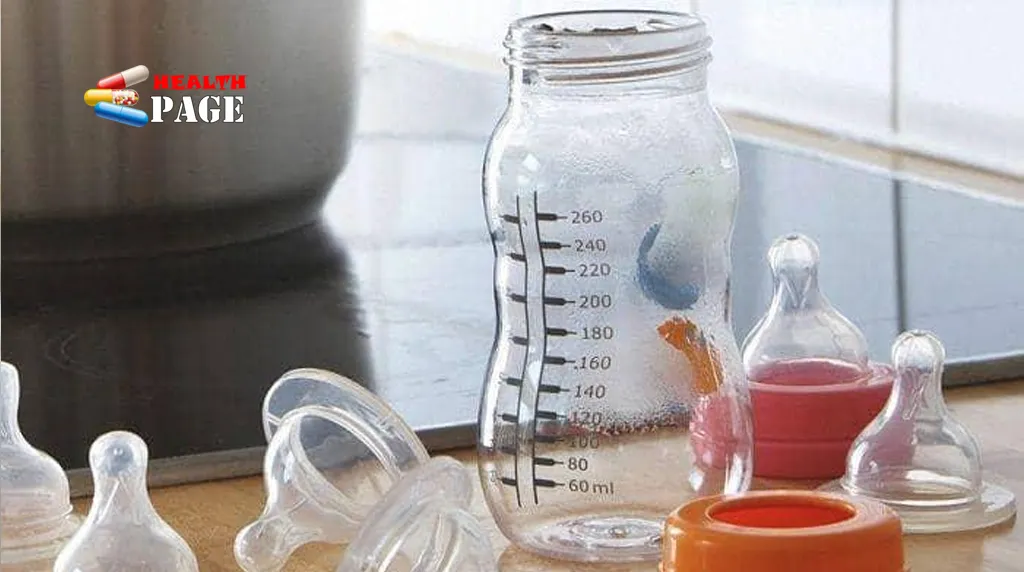
Baby Bottle Safety: 7 Essential Tips for Cleaning, Sterilizing, and Feeding
This article, “Baby Bottle Safety: 7 Essential Tips for Cleaning, Sterilizing, and Feeding,” was written by Dr. Sharmila Rathi, Pediatrician. It is intended for general educational and informational purposes only and should not be considered a substitute for professional medical advice, diagnosis, or treatment. Always follow your baby’s healthcare provider’s recommendations and the manufacturer’s instructions for feeding equipment. If your baby experiences feeding difficulties, signs of illness, or an unusual reaction, consult a qualified healthcare professional. Never delay seeking medical advice because of information in this article.
Every baby bottle you wash is a small act of infection control. Milk, saliva, and microscopic residue collect where a quick glance never reaches: the threads of the cap, the hole in the nipple, the seam of a valve. The short answer most parents are looking for is this. Wash every bottle with soap and water after every feeding. Add a sanitizing step on top of that if your baby is younger than two months, was born prematurely, or has a weakened immune system. Rinsing a bottle, or pouring boiling water over a dirty one, does neither job.
This guide explains the difference between cleaning and sanitizing, walks through the process step by step, and covers formula, breast milk, and feeding position. The CDC and the UK’s NHS disagree on some details, such as boiling time. Both positions are laid out so you can follow the one that applies to you, along with your bottle manufacturer’s instructions.
Why Baby Bottle Hygiene Matters
Milk is an excellent growth medium for bacteria, and a bottle has plenty of crevices to hold it. Leftover breast milk or formula can cling to the inner walls, the screw threads, the nipple holes, and any valves or membranes. A bottle can look spotless and still carry residue.
Contaminated feeding equipment can expose a baby to germs such as Salmonella, Escherichia coli (E. coli), and Cronobacter. The CDC describes Cronobacter as a bacterium that can live in the environment and in dry foods like powdered formula, causing infections that are rare but serious in infants. If you want to know how an infection with the first two typically presents, this overview of the symptoms of E. coli bacteria is a useful reference.
Newborns, premature babies, and infants with weakened immune systems face the highest risk, because their defenses are still developing or are compromised. A caution is worth adding, though. An episode of vomiting or diarrhea does not prove that a bottle was dirty. Babies get sick for many reasons, and good hygiene lowers risk without explaining every illness.
Two terms are easy to confuse:
- Cleaning removes milk residue, grease, and many microorganisms through soap, water, and scrubbing.
- Sanitizing reduces germs further, but only after cleaning. Residue shields bacteria, so a dirty bottle can’t be reliably sanitized.
How to Choose a Safe Baby Bottle
The safest baby bottle is one you can take fully apart, clean easily, and use according to its manufacturer’s instructions. Glass and food-grade plastic both work. Glass is heavier and can break, but it tolerates repeated boiling well. Plastic is lighter and more forgiving if dropped, but it can scratch, cloud, and wear out sooner, and not every plastic is rated for boiling. Neither is universally safer.
A few practical points matter more than the material:
- Fewer parts means fewer places for residue. Bottles with several valves, vents, or inserts take longer to clean properly.
- Check the fit. The nipple should seat firmly in the ring without leaking, and its flow rate should suit your baby’s age and feeding pace.
- Read the care label. It tells you whether the bottle is dishwasher-safe, boil-safe, or compatible with steam sterilizers.
- Treat “BPA-free” as one detail, not a guarantee. It says nothing about whether a bottle survives boiling.
Inspect bottles regularly for cracks, chips, deep scratches, or cloudy discoloration. Damaged surfaces are harder to clean and, in glass, a breakage hazard.
How to Clean Baby Bottles Step by Step
If you’ve ever wondered how to clean baby bottles so they are actually clean, not just rinsed, the CDC’s hand-washing method is the standard reference. It runs like this:
- Wash your hands with soap and water for 20 seconds.
- Take everything apart: bottle, nipple, cap, ring, and any valves or membranes. Parts you leave assembled stay dirty.
- Rinse each part under running water to remove visible milk. Don’t leave parts sitting in the sink.
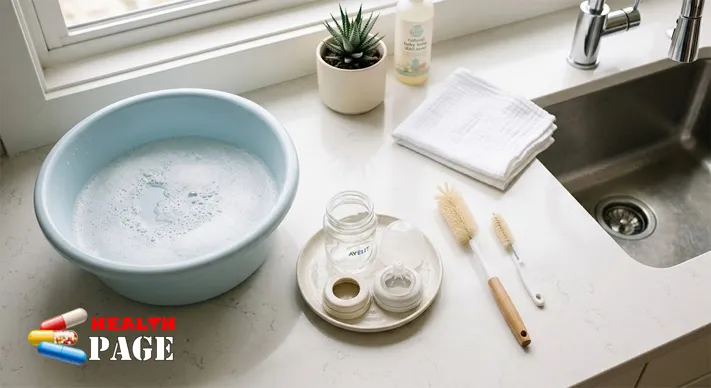
- Wash in a dedicated basin, not directly in the kitchen sink, which can carry germs. Use hot water and ordinary dish soap. Scrub with a clean bottle brush used only for infant feeding items, reaching the neck and threads, and squeeze water through the nipple holes.
- Rinse again under running water or in a separate basin of fresh water, until no soap remains.
- Air-dry completely on a clean, unused dish towel or paper towel in a spot protected from dust. Don’t rub or pat parts dry with a dish towel, which can transfer germs back onto them.
- Store when fully dry. Wash your hands, reassemble, and keep everything in a clean, closed space such as a cabinet used only for clean dishes.
A dishwasher can do the job if your bottle parts are dishwasher-safe. Disassemble them, rinse, and place small pieces in a closed-top basket or mesh bag so they don’t slip into the filter. The CDC advises running a hot-water cycle with heated drying or a sanitizing setting, and says a separate sanitizing step isn’t needed when you do.
Wash the basin and brush too. The CDC suggests every few days for a healthy older baby, and after every use if your baby is under two months, premature, or immunocompromised.
How to Sterilize Baby Bottles: What the CDC and NHS Say
Public health agencies often use “sanitizing” where parents say “sterilizing,” and the two overlap in everyday use. The practical question is the same: how do you give an already clean bottle an extra layer of germ reduction? Guidance on how to sterilize baby bottles differs by country, and the differences are worth seeing side by side.
| CDC (United States) | NHS (United Kingdom) | |
|---|---|---|
| Who needs it | Daily for babies under 2 months, premature babies, and babies with weakened immune systems. Often unnecessary for older, healthy babies if bottles are cleaned carefully. | All feeding equipment until the baby is at least 12 months old |
| Boiling time | 5 minutes | At least 10 minutes |
| Dishwasher | Hot water plus heated dry or sanitizing setting makes a separate step unnecessary | Cleans but does not sterilize |
If you live in the U.S., the CDC’s approach is the relevant one. If you follow NHS advice, sterilize after every feeding for the first year. Either way, check what your bottle manufacturer allows.
Boiling
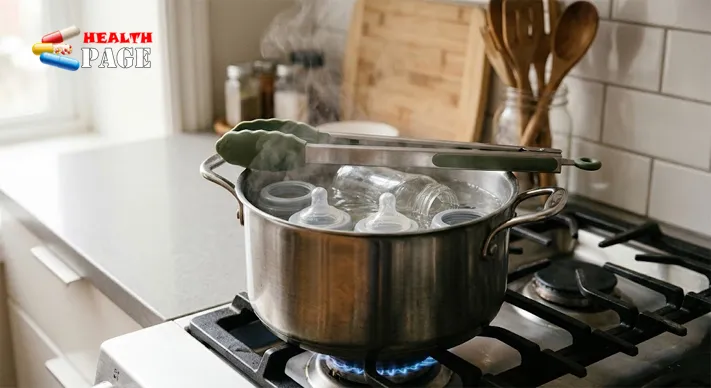
Clean and disassemble the parts, confirm they are safe to boil, and place them in a pot covered with water. Bring it to a boil and keep it there: 5 minutes by the CDC’s method, at least 10 by the NHS, with everything staying under the surface. Lift items out with clean tongs and let them air-dry. The NHS also warns that nipples tend to wear out faster with repeated boiling.
Steam sterilizers
Electric and microwave steam sterilizers work by filling the unit with steam that reaches every component. Because models differ in capacity, timing, and cooling instructions, follow the sterilizer manufacturer’s directions exactly, and check that your bottle materials are compatible. Let items cool before handling, and wash your hands first.
Chemical sanitizing
Cold-water sterilizing tablets and solutions are common in the UK. The NHS says to follow the product instructions, soak for at least 30 minutes, and change the solution every 24 hours. For readers in the U.S. who can’t boil, steam, or use a dishwasher, the CDC gives a specific fallback: 2 teaspoons of unscented bleach per gallon (16 cups) of water in a clean basin, items fully submerged for at least 2 minutes, then air-dried without rinsing. Use those measurements exactly as written. Don’t improvise a stronger solution, and don’t use alcohol or hydrogen peroxide as routine bottle disinfectants.
7 Essential Baby Bottle Safety Tips
The steps above are the process. These seven tips are the habits that keep the process working.
1. Wash after every feeding, even when the bottle looks fine. A bottle that was only rinsed, or that your baby drank from earlier, still carries saliva and milk film. Reusing it without washing invites bacterial growth.
2. Match the extra protection to your baby. Daily sanitizing matters most for babies under two months, premature infants, and those with weakened immune systems. Ask your pediatrician if you’re unsure which group your baby falls into.
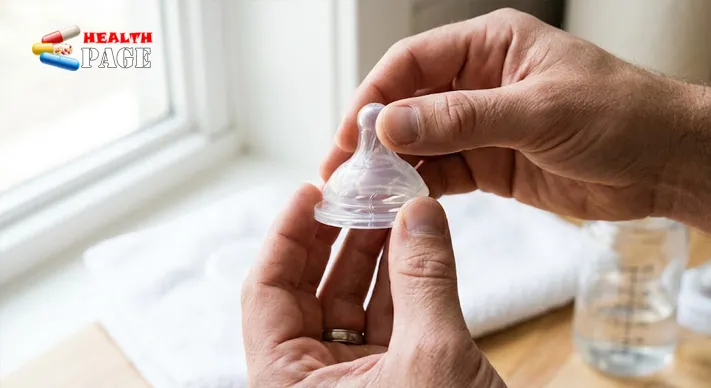
3. Give the small parts the most attention. Nipple holes, valves, and the underside of screw rings are where residue hides. Squeeze water through nipple holes and use a small brush on valves.
4. Let everything dry fully before storing. Trapped moisture lets germs and mold grow. The CDC considers a clean towel probably more hygienic than a drying rack, which can hold moisture. If you prefer a rack, dedicate it to feeding items and wash and sanitize it regularly.
5. Inspect bottles and nipples often. Look for cracks, tears, a sticky or deteriorating surface, cloudy plastic, and loose-fitting rings. Replace damaged items following the manufacturer’s guidance.
6. Keep the cleaning tools clean. A bottle brush and wash basin that sit damp and unwashed can recontaminate the bottles they are meant to clean. Let both air-dry after use and wash them on the schedule described earlier.
7. Remember that a clean bottle is only half the equation. The milk inside has to be prepared, warmed, and stored safely too, which the next section covers.
Bottle Feeding Safety: Formula, Breast Milk, and Feeding Position
Preparing formula
The CDC’s formula preparation guidance starts with clean hands and a cleaned, sanitized workspace. Follow the manufacturer’s instructions, measure the water first, then add the powder. Mixing in the bottle itself is the safest method, because blenders are difficult to clean and have been linked to illness in babies.
Ratios matter. Too much water can mean the formula doesn’t meet a baby’s nutritional needs, while too little can strain a baby’s kidneys and digestive system. Use water from a safe source, and if you’re unsure about your tap water, call your local health department.
Babies under two months, babies born prematurely, and babies with weakened immune systems need an extra precaution. Powdered formula isn’t sterile, so the CDC advises boiling the water, waiting about five minutes, then mixing, and letting the formula cool before feeding.
Handling prepared milk
Timing differs depending on whether feeding has begun:
- Prepared formula the baby hasn’t touched: use it within 2 hours of preparation, or refrigerate it right away and use it within 24 hours.
- Formula your baby has started drinking: the CDC says to use it within one hour from when feeding begins, then throw out whatever is left. Saliva combined with formula encourages bacterial growth.
- Warmed or room-temperature breast milk: use it within 2 hours, and discard what is left after that.
Never top up a partly finished bottle with fresh milk.
Warming and testing temperature
Neither formula nor breast milk needs to be warmed. If your baby prefers it warm, hold the sealed bottle under running warm water and keep water off the nipple. Never use a microwave, which creates hot spots that can burn a baby’s mouth. Put a few drops on your wrist before feeding. It should feel warm, not hot.
Feeding position and pace
Hold your baby in a supported, semi-upright position with the head comfortably higher than the stomach, and tilt the bottle just enough to keep milk filling the nipple so your baby isn’t swallowing air. Let your baby pause. Paced feeding, with short breaks, helps babies set their own rhythm. Never prop a bottle against a pillow or leave a baby feeding unattended, since a baby can’t safely manage the flow alone.
When something seems wrong
Occasional coughing or spluttering is common. Repeated choking, difficulty coordinating sucking and swallowing, or persistent distress during feeds deserves a call to your pediatrician. So do vomiting and diarrhea that come with fewer wet diapers or unusual sleepiness, because babies dehydrate quickly. A stomach virus and food poisoning can look alike, and in an infant the useful question is whether the baby is hydrated and alert, not which germ is responsible.
Common Mistakes Worth Avoiding
Several errors come up repeatedly, and most trace back to a shortcut that feels reasonable.
- Treating boiling water as a substitute for washing. Heat doesn’t remove dried-on milk, and sanitizing only works after cleaning.
- Boiling items that aren’t heat-rated. Check the manufacturer’s label first. Some plastics warp or degrade.
- Cleaning nipples with salt. The NHS warns this can be dangerous for babies.
- Turning nipples inside out by default. Some NHS guidance suggests it for washing, but certain nipples can be damaged this way, so follow your manufacturer’s instructions.
- Judging cleanliness by appearance. Film and bacteria are invisible, so a clean look is not evidence of a clean bottle.
Frequently Asked Questions About Baby Bottles
Can I put baby bottles in the dishwasher?
Yes, if the bottle and its parts are dishwasher-safe. Use hot water and a heated-dry or sanitizing cycle, and keep small parts in a closed basket. Under CDC guidance, that cycle replaces a separate sanitizing step. NHS guidance treats a dishwasher as cleaning only.
When can I stop sterilizing bottles?
It depends on the guidance you follow. The NHS says sterilize until at least 12 months. The CDC says daily sanitizing may be unnecessary for older, healthy babies whose bottles are cleaned carefully after every use. If your baby has any health concern, ask your pediatrician.
Are glass bottles safer than plastic ones?
Not across the board. Glass handles boiling and steam well but is heavy and can break. Plastic is lighter but scratches and ages faster. Choose by durability, your routine, and what the manufacturer approves.
How often should nipples be replaced?
When they show cracks, tears, stickiness, or any change in shape or texture, and on the schedule your manufacturer gives. Heat from frequent boiling can speed wear, so check them regularly.
Can dirty baby bottles cause diarrhea?
Contaminated bottles can expose a baby to germs that cause gastrointestinal illness, but diarrhea has many possible causes. If your baby has diarrhea, watch for signs of dehydration in babies and toddlers and contact your pediatrician if you’re worried.
What should I do about bottle parts I can’t get dry?
Leave them on a clean towel in a spot protected from dust until completely dry. If moisture keeps collecting in a particular part, such as a vented insert, replace it or consider a simpler bottle design.
Putting It Into Practice
Safe use of a baby bottle comes down to a few repeatable habits: wash every part after every feeding, add a sanitizing step when your baby is in a higher-risk group, dry completely, and prepare and store milk with the same care as the bottle that holds it. Where the CDC and NHS differ, pick the guidance that applies where you live and let your pediatrician and bottle manufacturer break any tie. A written routine taped inside a cabinet door helps, especially when a second caregiver is covering a night feeding.
References
- Centers for Disease Control and Prevention. “How to Clean, Sanitize, and Store Infant Feeding Items.” https://www.cdc.gov/hygiene/about/clean-sanitize-store-infant-feeding-items.html
- Centers for Disease Control and Prevention. “Infant Formula Preparation and Storage.” https://www.cdc.gov/infant-toddler-nutrition/formula-feeding/preparation-and-storage.html
- NHS. “Sterilising baby bottles.” https://www.nhs.uk/baby/breastfeeding-and-bottle-feeding/bottle-feeding/sterilising-baby-bottles/

Medical Reviewer: Dr. Sharmila Rathi, MD
Consultant Pediatrician | Clinical Contributor
Dr. Sharmila Rathi is an esteemed Consultant Pediatrician with extensive clinical experience in
neonatal care, childhood developmental milestones, and general pediatric medicine. She practices
at the prestigious Grant Government Medical College & Sir JJ Group of Hospitals in Mumbai, India—one
of the region's oldest and most respected premier medical institutions.
As a dedicated medical reviewer for Healthy Post, Dr. Rathi focuses on translating complex
pediatric pathologies, newborn health standards, adolescent wellness, and immunization timelines into highly
accessible, evidence-based guidance that parents can trust completely.
Clinical Affiliation:
Grant Government Medical College & Sir JJ Group of Hospitals, Mumbai
Professional Inquiries:
[email protected]