Cortisol Saliva Test Kit Instructions from Diagnostics: Step-by-Step Procedure for Accurate Results
Understanding your hormone levels, especially cortisol, can help spot issues with stress, adrenal health, or hormonal imbalances. If you’re using a saliva test kit from Diagnostics, knowing exactly how to follow the instructions is key. Doing it wrong can lead to confusing results and unnecessary worry. This guide breaks down everything you need to know to perform your cortisol saliva test kit accurately and easily at home.
Understanding the Cortisol Saliva Test Kit
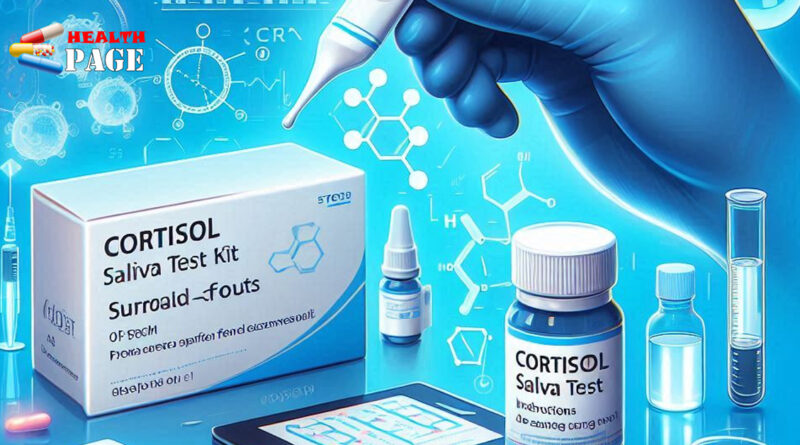
What’s Inside the Test Kit
When you open your box, you’ll find several important parts. First, there’s a pre-paid UPS shipping label—no extra cost to send your samples. Next, a plastic bag containing an orange absorbent pad for safety. You’ll see four blue-topped collection tubes and one green tube. Each vial has a specific role.
The blue vials are for measuring cortisol levels at different times of the day, while the green tube is used if your doctor ordered testing for hormones like FSH or LH. There’s also a requisition form, which you must fill out. Lastly, a detailed instruction sheet guides you through the process step by step.
Why Different Samples Matter
Having multiple samples taken at specific times gives a full picture of how your cortisol fluctuates throughout the day. This helps identify if your adrenal glands are functioning well or if you might have adrenal fatigue or other hormonal issues. The green tube, if needed, gives insight into reproductive hormones.
Preparing for Your Cortisol Saliva Test
How to Get Ready for Accurate Results
Before you start collecting saliva, it’s important to prepare properly. For 3 to 5 days beforehand, avoid taking any hormonal supplements like patches or sublingual drops. If you’re using hormone therapy, tell your doctor so they can interpret your results correctly.
On the day of testing, do not eat or drink anything except water for at least one hour before each sample. This prevents food or drinks from affecting your cortisol levels. Three minutes prior to collecting saliva, rinse your mouth with cold water only—this clears away any residues that could alter the results.
Setting Your Schedule
Stick to precise collection times to be sure your results are accurate. Here’s a recommended schedule:
- Morning: 6 a.m. to 8 a.m.
- Noon: 12 p.m.
- Afternoon: 5 p.m.
- Late evening (or night): 10 p.m. to 12 a.m.
If you can’t stay up exactly at midnight, just do the test when you naturally wake up or prefer. Write down these times and stick to them. It’s a good idea to set alarms or reminders to keep on schedule.
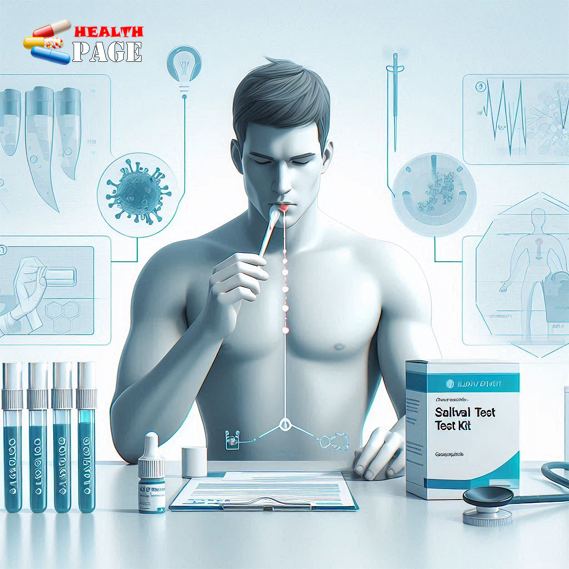
How to Collect Your Saliva Samples
Filling the Collection Tubes Correctly
Open the blue and green vials carefully. The blue vials have a line marked five, and the green has a mark labeled two. For each blue vial, fill up to the fifth line. For the green tube, only fill to the second line. If you find it hard to produce enough saliva, suck on a lemon slice to stimulate saliva flow.
Place the tip of the tube under your tongue and let saliva pool. Spit into the tube until it reaches the line. Do this gently and steadily to prevent bubbles or overflowing. Remember, your goal is enough saliva to fill the line; it’s okay if it’s a bit tricky sometimes.
Storage and Handling
Once filled, immediately put the vial into the provided plastic bag to keep it clean. Label it with the date and exact collection time. Then, place the bag in your refrigerator. This preserves your sample until shipping day. Repeat this process at each scheduled time, always sealing each vial after use.
Special Tips for Better Samples
If you have trouble producing enough saliva, try stimulating your mouth with lemon juice as suggested. Avoid brushing your teeth or using mouthwash just before sampling, because these can change saliva chemistry. Always label your samples clearly and keep notes on when and how you collected each.
Completing and Shipping Your Test Kit
Filling Out the Requisition Form
Next, fill out the form with your personal details. Include your name, date of birth, address, and contact number. Be precise with the date you last collected each sample. If you’re a woman, note where you are in your menstrual cycle. If you are on hormone therapy, include the specific doses and timing.
Accurate information on the form helps the lab interpret your results correctly. Check that all fields are completed before sealing the kit.
Packaging Your Samples
Put all saliva samples, completed requisition form, and any other paperwork into the original box. Seal it securely. Peel off the pre-paid UPS shipping label and stick it onto the box where it says “Attach shipping label here.” Make sure it’s visible and flat.
Shipping Tips
It’s best to ship the package the same day you finish collecting. If that’s not possible, ship within three days. Aim for 24 to 48 hours from collection to lab receipt for the most reliable results. Take the package to a UPS drop-off or schedule a pickup if available. Proper timing is essential for an accurate hormonal profile.
Important Tips and Precautions
Ensuring Valid Samples
Always double-check that you labeled each vial correctly and collected at the right time. Don’t eat, drink, or brush your teeth an hour before sampling. Keep your samples cold in the refrigerator until they’re shipped. This preserves saliva integrity and prevents sample deterioration.
Filling Out the Form Carefully
Include the last time you ate or drank. If you’re menstruating, specify what day of your cycle it is. For hormone therapy users, note the dosage, time, and date. Mention if you have bleeding gums or gum inflammation, as this might influence saliva collection.
Common Troubleshooting
Not enough saliva? Try stimulating saliva with lemon or wait a little longer. Confused about times? Use alarms or reminders. Samples mislabeled? Re-collect immediately if possible. Accurate prep and attention to detail prevent costly re-tests or delays.
Final Thoughts and Key Takeaways
Following these instructions makes all the difference in the accuracy of your cortisol test. Stick to the schedule, avoid food and drinks beforehand, and handle samples carefully. Doing so ensures your results truly reflect your adrenal health.
Remember, saliva testing is a safe, easy way to gain insight into your hormonal balance. But always discuss your results with your healthcare provider for proper interpretation and next steps. Proper preparation and attention to detail can unlock a clearer understanding of how your body manages stress and hormonal health.